
Run It Yourself
We cache generated cards for a few hours or days to avoid potential rate-limiting in the GitHub API or on Vercel. If you want to set your own cache duration or you want to include private contributions in your stats without granting our hosted version of GitHub-Stats-Extended access to your private contributions, you can run GitHub-Stats-Extended on your own.
GitHub Actions is the simplest setup with static SVGs stored in your repo but less frequent updates, while self-hosting GitHub-Stats-Extended takes more work and can serve fresher stats (with caching).
GitHub Action
Section titled “GitHub Action”With github-readme-stats-action you can generate static cards in your GitHub Actions workflow, commit them to your profile repository, and embed them directly from there. This avoids any per-request API calls.
Create /.github/workflows/grs.yml in your profile repo (USERNAME/USERNAME):
name: Update README cards
on:  schedule:    - cron: "0 0 * * *" # Runs once daily at midnight  workflow_dispatch:
jobs:  build:    runs-on: ubuntu-latest
    permissions:      contents: write
    steps:      - uses: actions/checkout@v6
      - name: Generate stats card        uses: stats-organization/github-readme-stats-action@v2        with:          card: stats          options: username=${{ github.repository_owner }}&show_icons=true          path: profile/stats.svg          token: ${{ secrets.GITHUB_TOKEN }}
      - name: Commit cards        run: |          git config user.name "github-actions[bot]"          git config user.email "41898282+github-actions[bot]@users.noreply.github.com"          git add profile/*.svg          git commit -m "Update README cards" || exit 0          git push
Then embed from your profile README:
See more options and examples in the GitHub Readme Stats Action README.
Self-hosted
Section titled “Self-hosted”Running your own instance avoids public rate limits and gives you full control over caching, tokens, and private stats.
First, create a GitHub Personal Access Token so the server can query GitHub’s API. Then choose one of the two deployment methods below: Docker runs anywhere you can host a container. The Vercel option replicates how github-stats-extended.vercel.app is deployed, for historical reasons. The last section lists available environment variables to customize your instance.
First step: get your Personal Access Token (PAT)
Section titled “First step: get your Personal Access Token (PAT)”For deploying your own instance of GitHub Stats Extended, you will need to create a GitHub Personal Access Token (PAT). Below are the steps to create one and the scopes you need to select for both classic and fine-grained tokens.
Selecting the right scopes for your token is important in case you want to display private contributions on your cards.
Classic token
Section titled “Classic token”- Go to Account → Settings → Developer Settings → Personal access tokens → Tokens (classic).
- Click on
Generate new token → Generate new token (classic). - Scopes to select:
- repo
- read:user
- Click on
Generate tokenand copy it.
- Click on
Fine-grained token
Section titled “Fine-grained token”- Go to Account → Settings → Developer Settings → Personal access tokens → Fine-grained tokens.
- Click on
Generate new token → Generate new token. - Enter a token name
- Select an expiration date
- Select
All repositories - Scopes to select under
Permissions:- Commit statuses: read-only
- Contents: read-only
- Issues: read-only
- Metadata: read-only (added automatically when selecting above scopes)
- Pull requests: read-only
- Click on
Generate tokenand copy it.
- Click on
Self-hosting via Docker
Section titled “Self-hosting via Docker”A multi-platform Docker image (amd64/arm64) is published to the GitHub Container Registry on every release.
docker run -d \ -p 9000:80 \ -e PAT_1=YOUR_PERSONAL_ACCESS_TOKEN \ ghcr.io/stats-organization/github-stats-extended:latestYour instance is now available at http://localhost:9000.
If you prefer to build the image yourself, simply run docker build -f Dockerfile.vercel . from the repository root.
Self-hosting on Vercel
Section titled “Self-hosting on Vercel”Click the button to deploy in one click, or follow the step-by-step guide below.
Step-by-step guide
Section titled “Step-by-step guide”- Go to vercel.com.
- Click on
Log in.
- Sign in with GitHub by pressing
Continue with GitHub.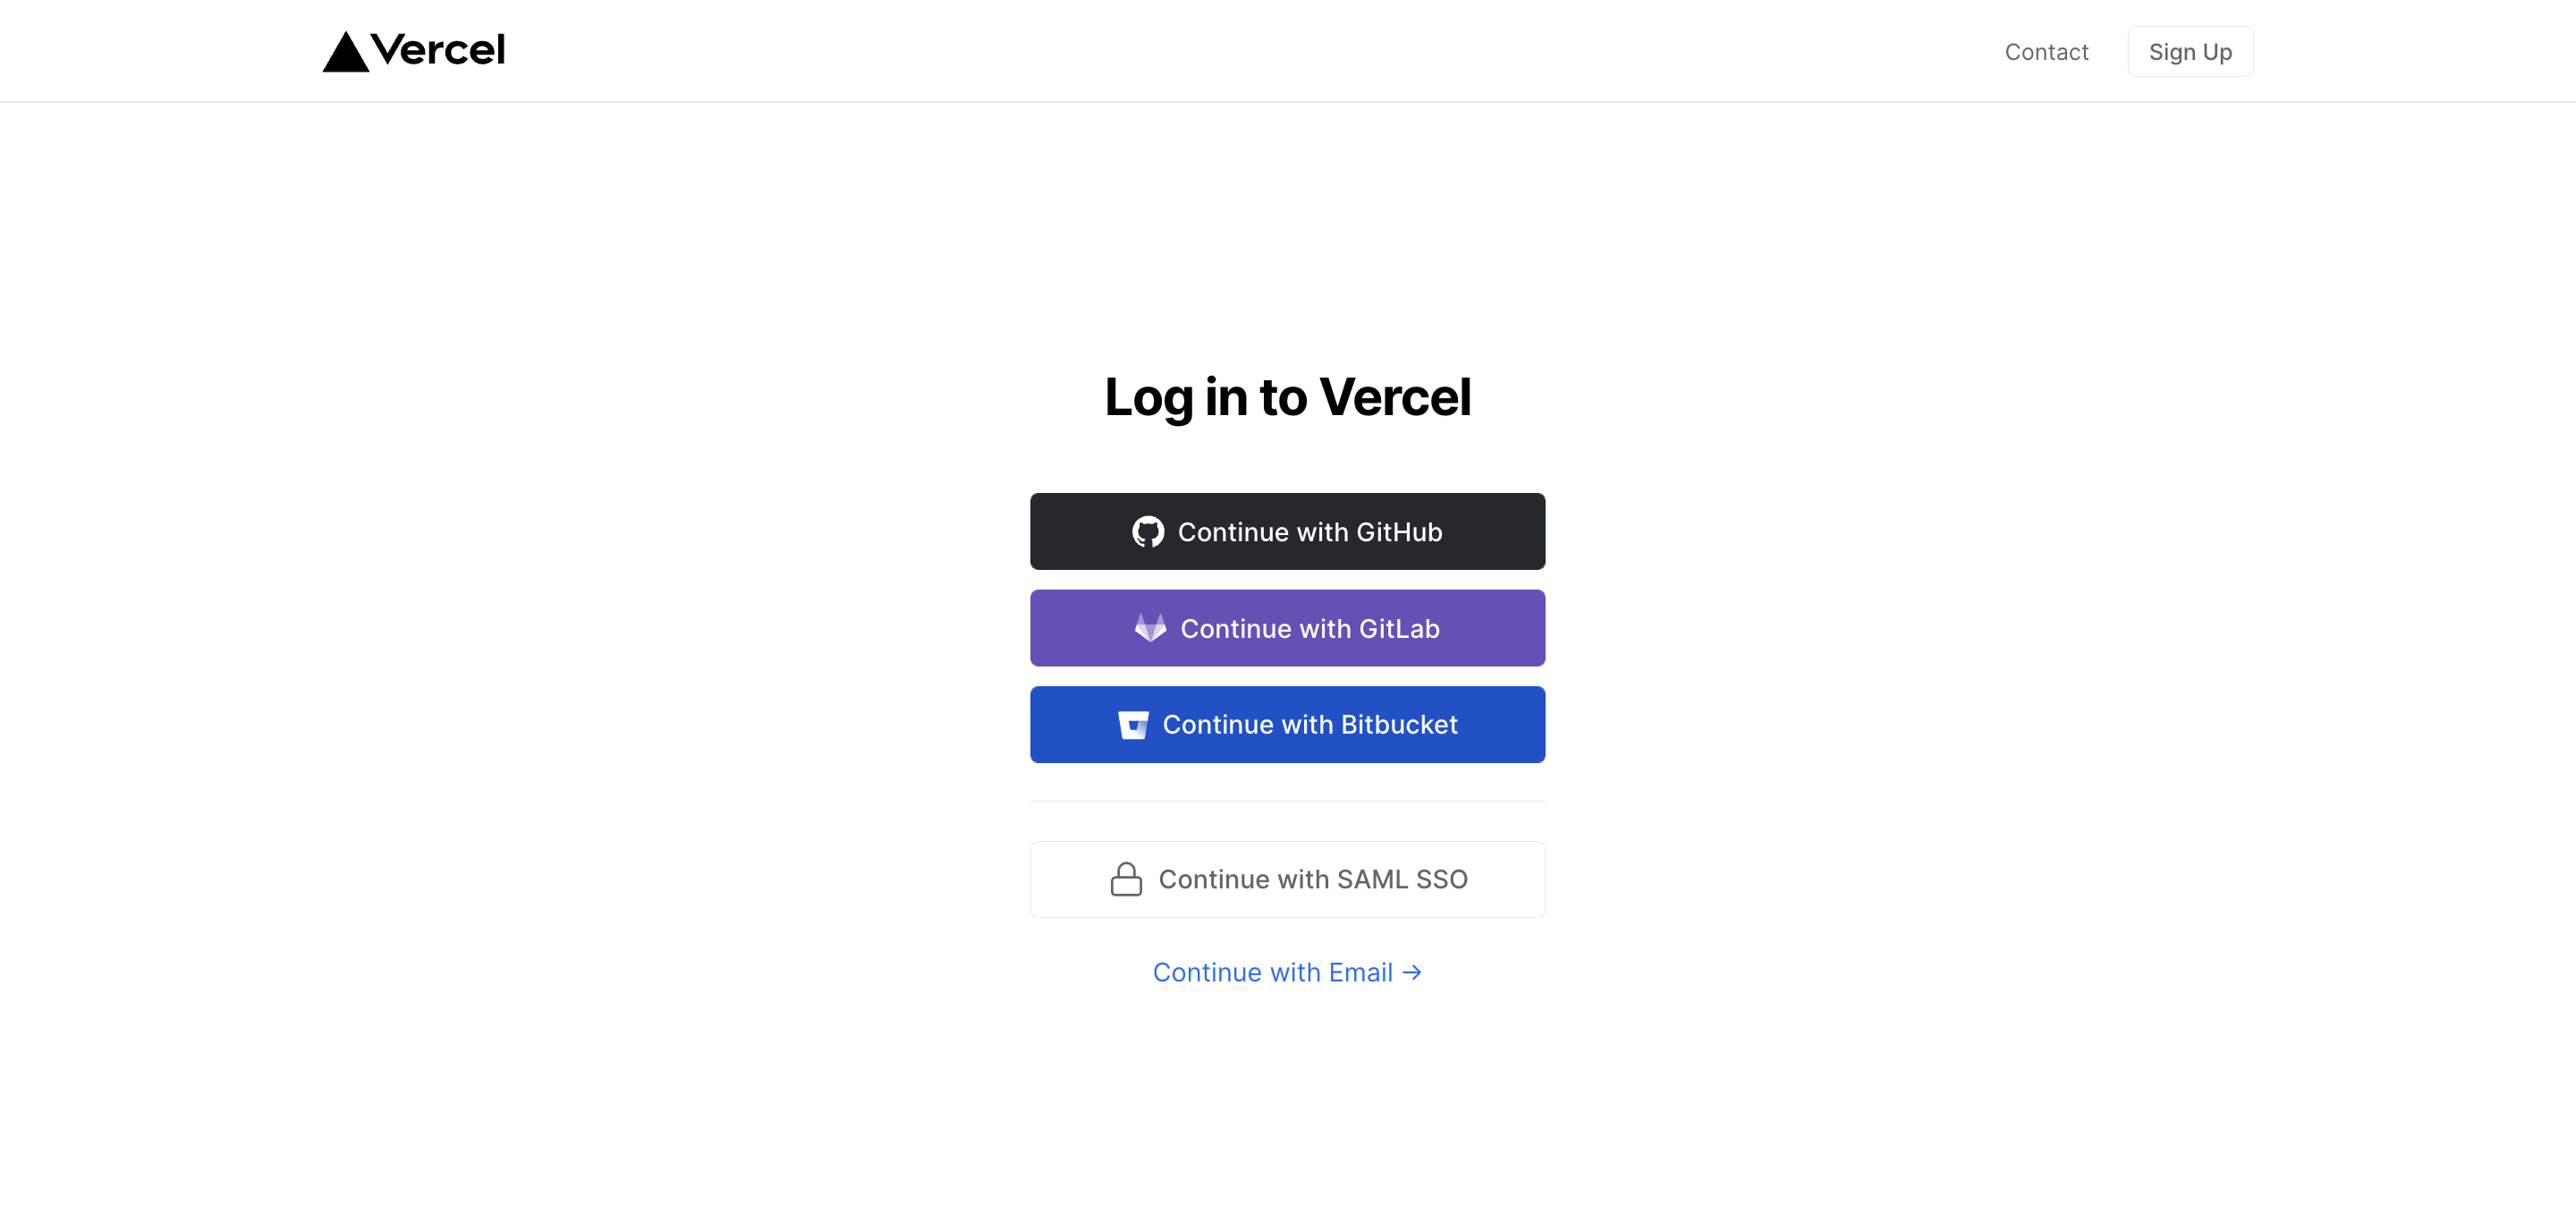
- Sign in to GitHub and allow access to all repositories if prompted.
- Fork this repo. Disable “Copy the
masterbranch only”. - Go back to your Vercel dashboard.
- To import a project, click the
Create New...button and select theProjectoption.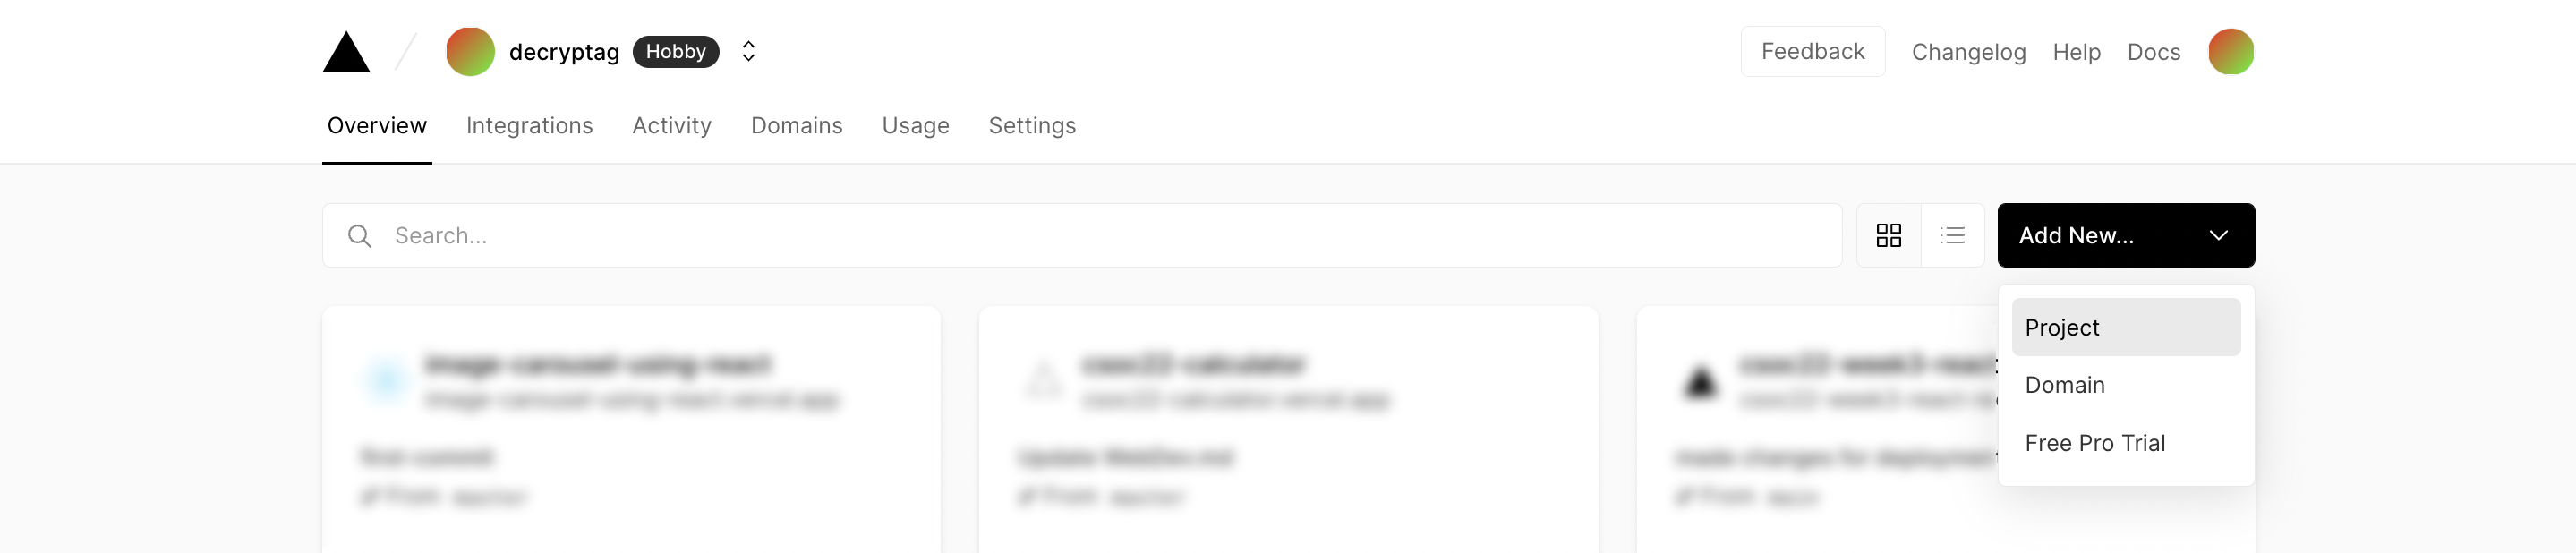
- Search for the forked Git Repository and import it by clicking the
Importbutton. - As
Application PresetselectContainer. - Create a Personal Access Token (PAT) as described in the previous section.
- Add the PAT as an environment variable named
PAT_1(as shown).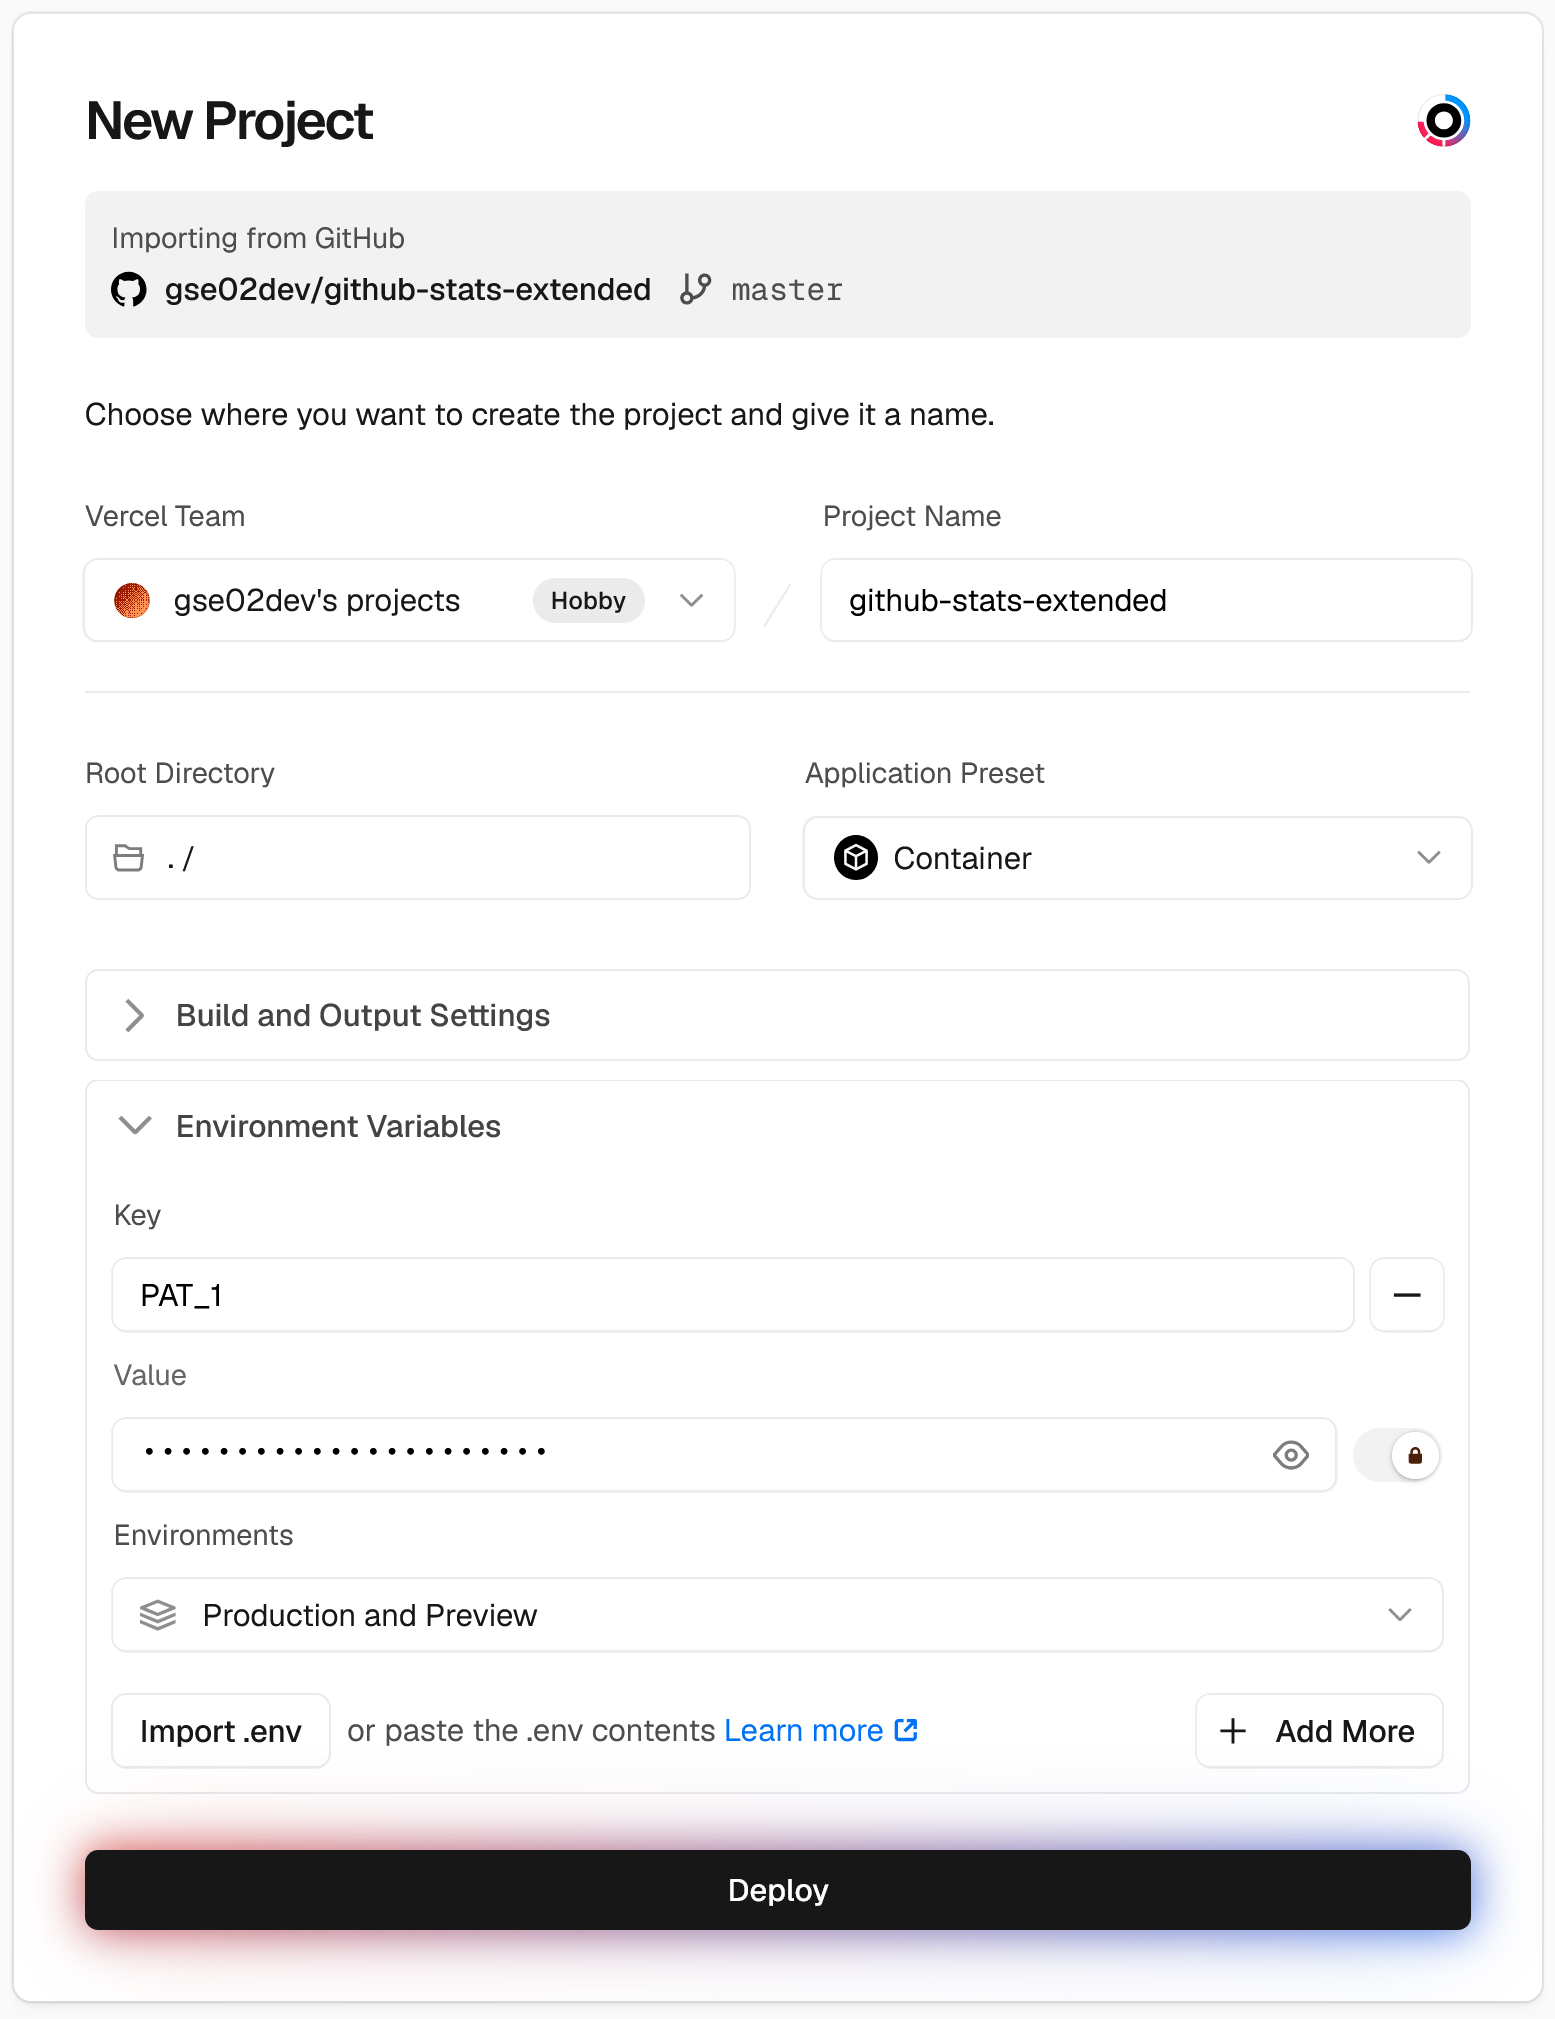
- Click deploy.
- Point your Vercel project at the
releasebranch instead ofmaster.
mastercontains unreleased, potentially unstable code, whilereleasecontains the latest stable release.- In your Vercel project settings, go to
Environments → Productionand change the tracked branch frommastertorelease. - Go to
Deployments → ... → Create Deployment, selectreleaseand clickDeploy to production.
- In your Vercel project settings, go to
- See your domains to use the API!
Optional steps
Section titled “Optional steps”Add an SQL database
Section titled “Add an SQL database”Add an SQL database, either through an integration such as “Nile”, or by manually setting the environment variable POSTGRES_URL.
Increase Vercel’s function timeout
Section titled “Increase Vercel’s function timeout”If you handle a large number of requests, the /api/repeat-recent endpoint may time out. By default, Vercel limits serverless functions to 5 minutes. You can increase this limit in Vercel’s dashboard. Note that this requires a “Pro” or “Enterprise” plan.
Use your own OAuth App
Section titled “Use your own OAuth App”Create your own OAuth App and set the environment variables OAUTH_REDIRECT_URI, OAUTH_CLIENT_ID and OAUTH_CLIENT_SECRET on Vercel accordingly.
Keep your fork up to date
Section titled “Keep your fork up to date”You can keep your fork, and thus your private Vercel instance up to date with the upstream using GitHub’s Sync Fork button. You can also use the pull package created by @wei to automate this process.
As a prerequisite, GitHub has to know that your personal GitHub-Stats-Extended repo is a fork of https://github.com/stats-organization/github-stats-extended. This only works if you follow the step-by-step guide above, instead of clicking the Vercel “Deploy” button.
Available environment variables
Section titled “Available environment variables”GitHub Stats Extended provides several environment variables that can be used to customize the behavior of your self-hosted instance, whether running via Docker or on Vercel:
| Name | Description | Supported values |
|---|---|---|
PAT_1 |
Your GitHub Personal Access Token. You can add multiple tokens as PAT_1, PAT_2, PAT_3, etc. The server rotates through them to spread the API rate limit across all tokens. |
A valid GitHub PAT (required) |
PORT |
Sets the port the Express server listens on. The Docker image defaults to 80; when running outside Docker the default is 9000. |
Any valid port number |
POSTGRES_URL |
Connection string for an SQL database. When set, the server stores previously generated cards and proactively regenerates them for faster responses. | A PostgreSQL connection string (e.g. postgres://user:pass@host/db) |
CACHE_SECONDS |
Sets the cache duration in seconds for the generated cards. This variable takes precedence over the default cache timings for the public instance. If this variable is not set, the default cache duration is 24 hours (86,400 seconds). | Any positive integer or 0 to disable caching |
UPDATE_AFTER_HOURS |
Sets the duration in hours after which the server proactively regenerates a previously requested card. Defaults to 11 hours. | Any int or float |
DELETE_AFTER_HOURS |
Sets the duration in hours after which the server stops proactively regenerating a previously requested card if it hasn't been requested again in the meantime. Defaults to 8 days, i.e. 192 hours. | Any int or float |
WHITELIST |
A comma-separated list of GitHub usernames that are allowed to access your instance. If this variable is not set, all usernames are allowed. | Comma-separated GitHub usernames |
GIST_WHITELIST |
A comma-separated list of GitHub Gist IDs that are allowed to be accessed on your instance. If this variable is not set, all Gist IDs are allowed. | Comma-separated GitHub Gist IDs |
EXCLUDE_REPO |
A comma-separated list of repositories that will be excluded from stats and top languages cards on your instance. This allows repository exclusion without exposing repository names in public URLs. This enhances privacy for self-hosted instances that include private repositories in stats cards. | Comma-separated repository names |
FETCH_MULTI_PAGE_STARS |
Enables fetching all starred repositories for accurate star counts, especially for users with more than 100 repositories. This may increase response times and API points usage, so it is limited to 10 fetches - i.e. 1000 repos - on the public instance. | true or false or a maximum number of fetches |
OAUTH_CLIENT_ID |
Client ID of a GitHub OAuth App. Enables users to log in at the card wizard. | A GitHub OAuth App client ID |
OAUTH_CLIENT_SECRET |
Client secret of the same GitHub OAuth App. | The matching OAuth App client secret |
OAUTH_REDIRECT_URI |
The redirect URI registered in the OAuth App. Must match the Authorization callback URL configured in the app settings. | A fully-qualified URL (e.g. https://your-domain.com/frontend) |
See the Vercel documentation on adding these environment variables to your Vercel instance.